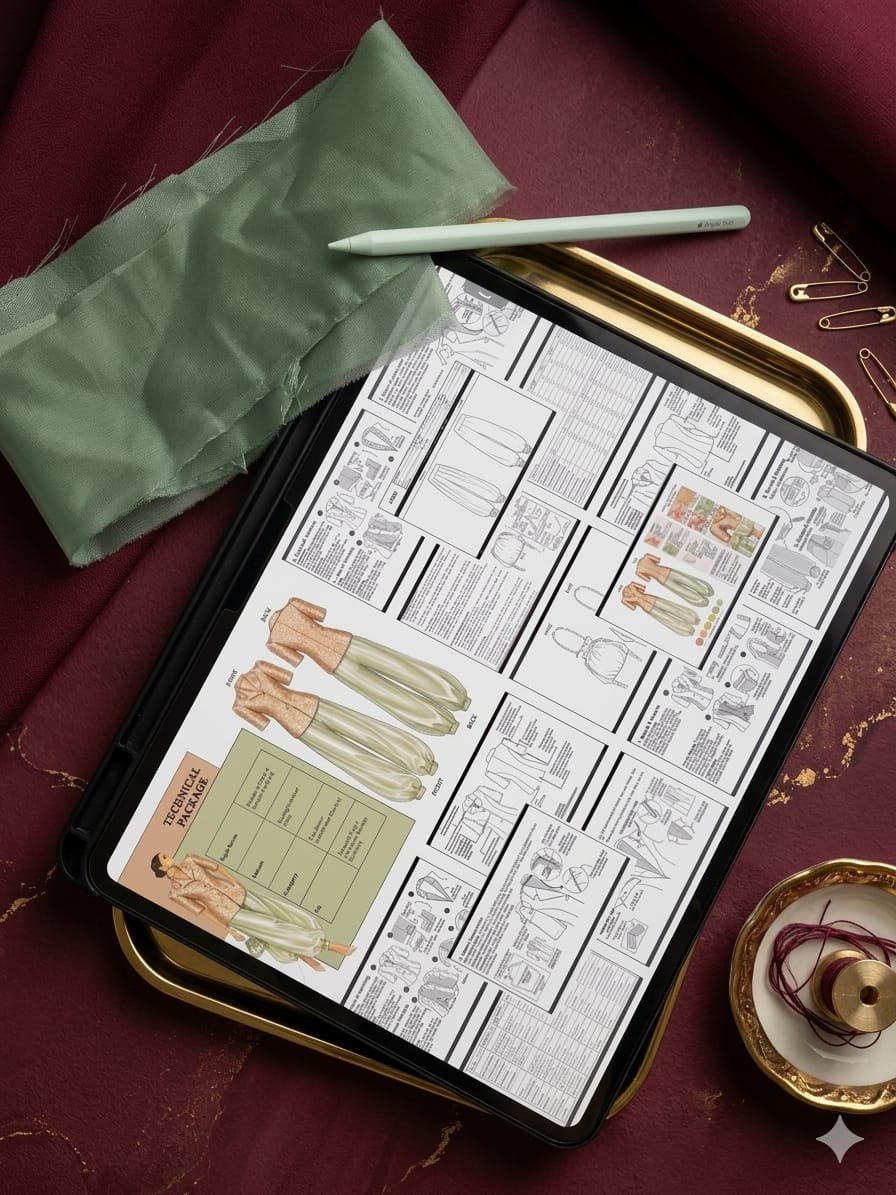
Creating a clothing tech pack is a controlled product-development process, not a matter of filling every box in a template. Start with one defined garment, build each technical section from the same approved design direction, and keep assumptions visible until sampling or supplier review can confirm them.
Decision comparison
Twelve-step clothing tech-pack workflow
Each step creates a controlled input for the next one. Reopen affected sections whenever an approved sample or supplier decision changes the product.
| Stage | Create or confirm | Release check |
|---|---|---|
| 1–3: Product definition | Brief, style identity and technical flats | One garment and one clear design direction |
| 4–6: Technical specification | BOM, measurements and construction | Components and methods agree with the drawings |
| 7–8: Commercial detail | Colourways, artwork, labels and packaging | Every option maps to named files and materials |
| 9–10: Technical review | Cross-page audit and recipient questions | Contradictions and open decisions have owners |
| 11: Sample revision | Actuals, fit comments and accepted corrections | Pack and accepted sample describe the same product |
| 12: Controlled handoff | Current export, revision summary and linked files | Recipient acknowledges the issued revision |
1. Define the garment and the purpose of this issue
Begin with one style, a clear garment description and the reason the document is being issued. A quotation pack, first-sample pack, fit-revision pack and approved production reference can contain different levels of confirmed information. Label the stage so a proposed choice is not mistaken for a final instruction.
Record the style name and code, category, intended wearer, base sample size, unit system, colourways, season or collection where useful, document owner and target supplier route. Add the issue date and revision from the first draft rather than trying to reconstruct them later.
- Style name and stable code
- Document purpose and development stage
- Base size and measurement units
- Colourway and range reference
- Owner, date and revision
2. Resolve the design brief before drawing details
Collect the approved front, back and relevant side direction, silhouette, length, fit intention, openings, closures, pockets, lining, trims and visible decoration. Separate features that are fixed from references that only communicate mood, proportion or finish.
If two references conflict, decide which one controls or mark the question for review. A tech pack should make uncertainty traceable; it should not hide an unresolved product behind precise-looking tables.
3. Create technical flats and numbered callouts
Draw neutral front and back technical flats that show panels, seams, openings, pockets, hems, fastenings, trims and visible stitch lines. Add side, inside, open, closed or enlarged detail views when the main pair cannot explain how the garment is built or used.
Give important details stable callout numbers or names and reuse them on construction, measurement, BOM and artwork pages. Keep the drawing readable: a separate detail view is safer than placing every note on one crowded silhouette.
4. Build the bill of materials
List each physical component: shell and contrast fabrics, lining, interfacing, thread, closures, elastic, hardware, labels, hangtags and packaging that belongs to the agreed scope. Give every item a code, specification, colourway, placement, source reference, unit and approval status where applicable.
Avoid broad descriptions that force a supplier to invent the missing quality. Record composition, construction, weight, width, finish, colour or other defining properties when they matter, while distinguishing proposed options from reviewed or approved references.
5. Create the measurement specification
Define each finished-garment point of measure with a name, code, diagram or clear method, units, base-size target and tolerance where appropriate. Use stable landmarks so the brand, pattern specialist, sample room and reviewer can measure the same route.
Do not copy measurements from an unrelated garment or assume a template validates fit. Base-size values, grading, pattern development and physical fit approval are separate responsibilities. Zameett does not advertise sewing-pattern development or grading as standalone services.
6. Document construction and finishing
Use written notes and detail drawings to control seam type, edge finish, stitch position, reinforcement, facing, lining attachment, closure application, hem and other workmanship that is not obvious from the flat. Connect each note to the relevant garment area instead of relying on a detached list.
Specify the decision at the level required by the product and supplier route. When a construction method is still being developed, mark it for sample review and record the approved solution in the next revision rather than presenting an untested choice as final.
7. Coordinate colourways, artwork and embellishment
Create a colourway matrix that coordinates shell, lining, thread, trims, hardware and artwork for each option. Use consistent component codes so the material list and colour page cannot describe different combinations accidentally.
For print, embroidery, beadwork or labels, identify the source-file name, physical dimensions, colours, technique, orientation and placement from stable garment landmarks. Engineered artwork and embellishment should be reviewed on an appropriate panel or sample when material behaviour, scale or handling can change the result.
8. Add labels, packaging and handoff requirements
Document the main label, size and care labels, country or compliance information where applicable, hangtags, stickers, bags, inserts and carton requirements included in scope. Show size, artwork version, placement, orientation and attachment method rather than naming an item only.
Requirements vary by product, destination and sales channel. Confirm relevant legal and compliance obligations with qualified advisers and suppliers for the actual market; a generic template is not evidence that the finished label or packaging is compliant.
9. Run a horizontal consistency audit
Trace each visible and hidden component from the flat to its BOM row, colourway, construction note, measurement or artwork instruction. Then confirm that the same style code, size, unit, colour name and revision appear across every relevant page.
This cross-page audit catches errors that a page-by-page proofread misses: a pocket drawn but not listed, a trim with no colour, an artwork file that uses an old style code or a measurement table in different units.
- Every drawn component has a specification
- BOM and colourways use matching codes
- Measurements have methods and units
- Artwork files match scale and placement
- Page headers show the current revision
10. Review the pack with the intended recipient
Issue a review draft to the relevant technical designer, supplier or development partner and ask for contradictions, missing decisions and quotation assumptions. A question log is more useful than treating silence as approval.
Record who owns each answer and update the controlled pages. Supplier feedback can improve buildability, but a suggested substitution or construction change should not overwrite the brand's specification without documented review and approval.
11. Update the tech pack through sampling
Link every sample to the pack revision used to make it. Record actual measurements, fit observations, material submissions, construction findings and consolidated corrections, then update all affected pages—not only a separate comment sheet.
A tech pack communicates the intended product; a physical sample tests fit, drape, movement, construction and material behaviour. Before an approved production route, the current pack, accepted sample and open-issue record should agree.
12. Release one controlled factory handoff
Export one dated, clearly named PDF or other agreed format from the current master. Include a revision summary, distinguish approved and open items, identify linked artwork or material references and state the exact purpose of the issue.
Archive superseded versions without leaving them in the active handoff folder, and ask recipients to acknowledge the current revision. Scope, formats, revisions, responsibilities, timing and exclusions should be confirmed before payment; manufacturing MOQ and production requirements remain project-specific.
- One current master file
- Dated export with revision summary
- Linked files use matching names
- Open decisions have owners
- Recipient confirms the current issue
Frequently Asked Questions
Questions about this topic
What should I prepare before creating a tech pack?
Prepare one defined garment, front and back design direction, intended materials, colourways, size and measurement needs, artwork, branding, target use and any existing sample or supplier information. Mark unknown decisions instead of filling them with guesses.
Can I create a clothing tech pack myself?
Yes, if you can create and maintain accurate flats, component specifications, measurement methods, construction information, artwork and revisions. A template organises the document but does not resolve technical decisions or prove fit.
Which software should I use to make a tech pack?
Use a system that can keep drawings, tables, linked artwork and revisions legible and controlled. The correct choice depends on your skills, team and supplier route; file clarity and version control matter more than a particular brand of software.
How long does it take to create a tech pack?
There is no universal duration. A resolved simple garment differs from a layered or embellished style that still needs design, material, measurement and artwork decisions. Confirm the inputs, deliverables and review rounds for the specific project.
Does a completed tech pack replace a garment sample?
No. The pack records the product specification, while a representative sample tests fit, proportion, drape, construction and material behaviour. Accepted sample changes should be written back into the controlled pack.
Does a tech pack include patterns and grading?
Not automatically. Sewing patterns and grading are separate specialist assets unless the written project scope states otherwise. Zameett does not advertise pattern development or grading as standalone services.
Apply This to Your Collection
Develop your next product with a clear scope.
Share your category, style count, available files, quantity and target date. Zameett will recommend the most suitable design, technical-development, sampling or reviewed production route.